Winter Market is a semester-long project dedicated to the creation of 10 home goods centered on themes of sustainability. The third portion of this course is the production phase. At the end of the production phase, we sell our home goods at the annual Winter Market hosted by the OSU Department of Design, and Urban Arts Space.
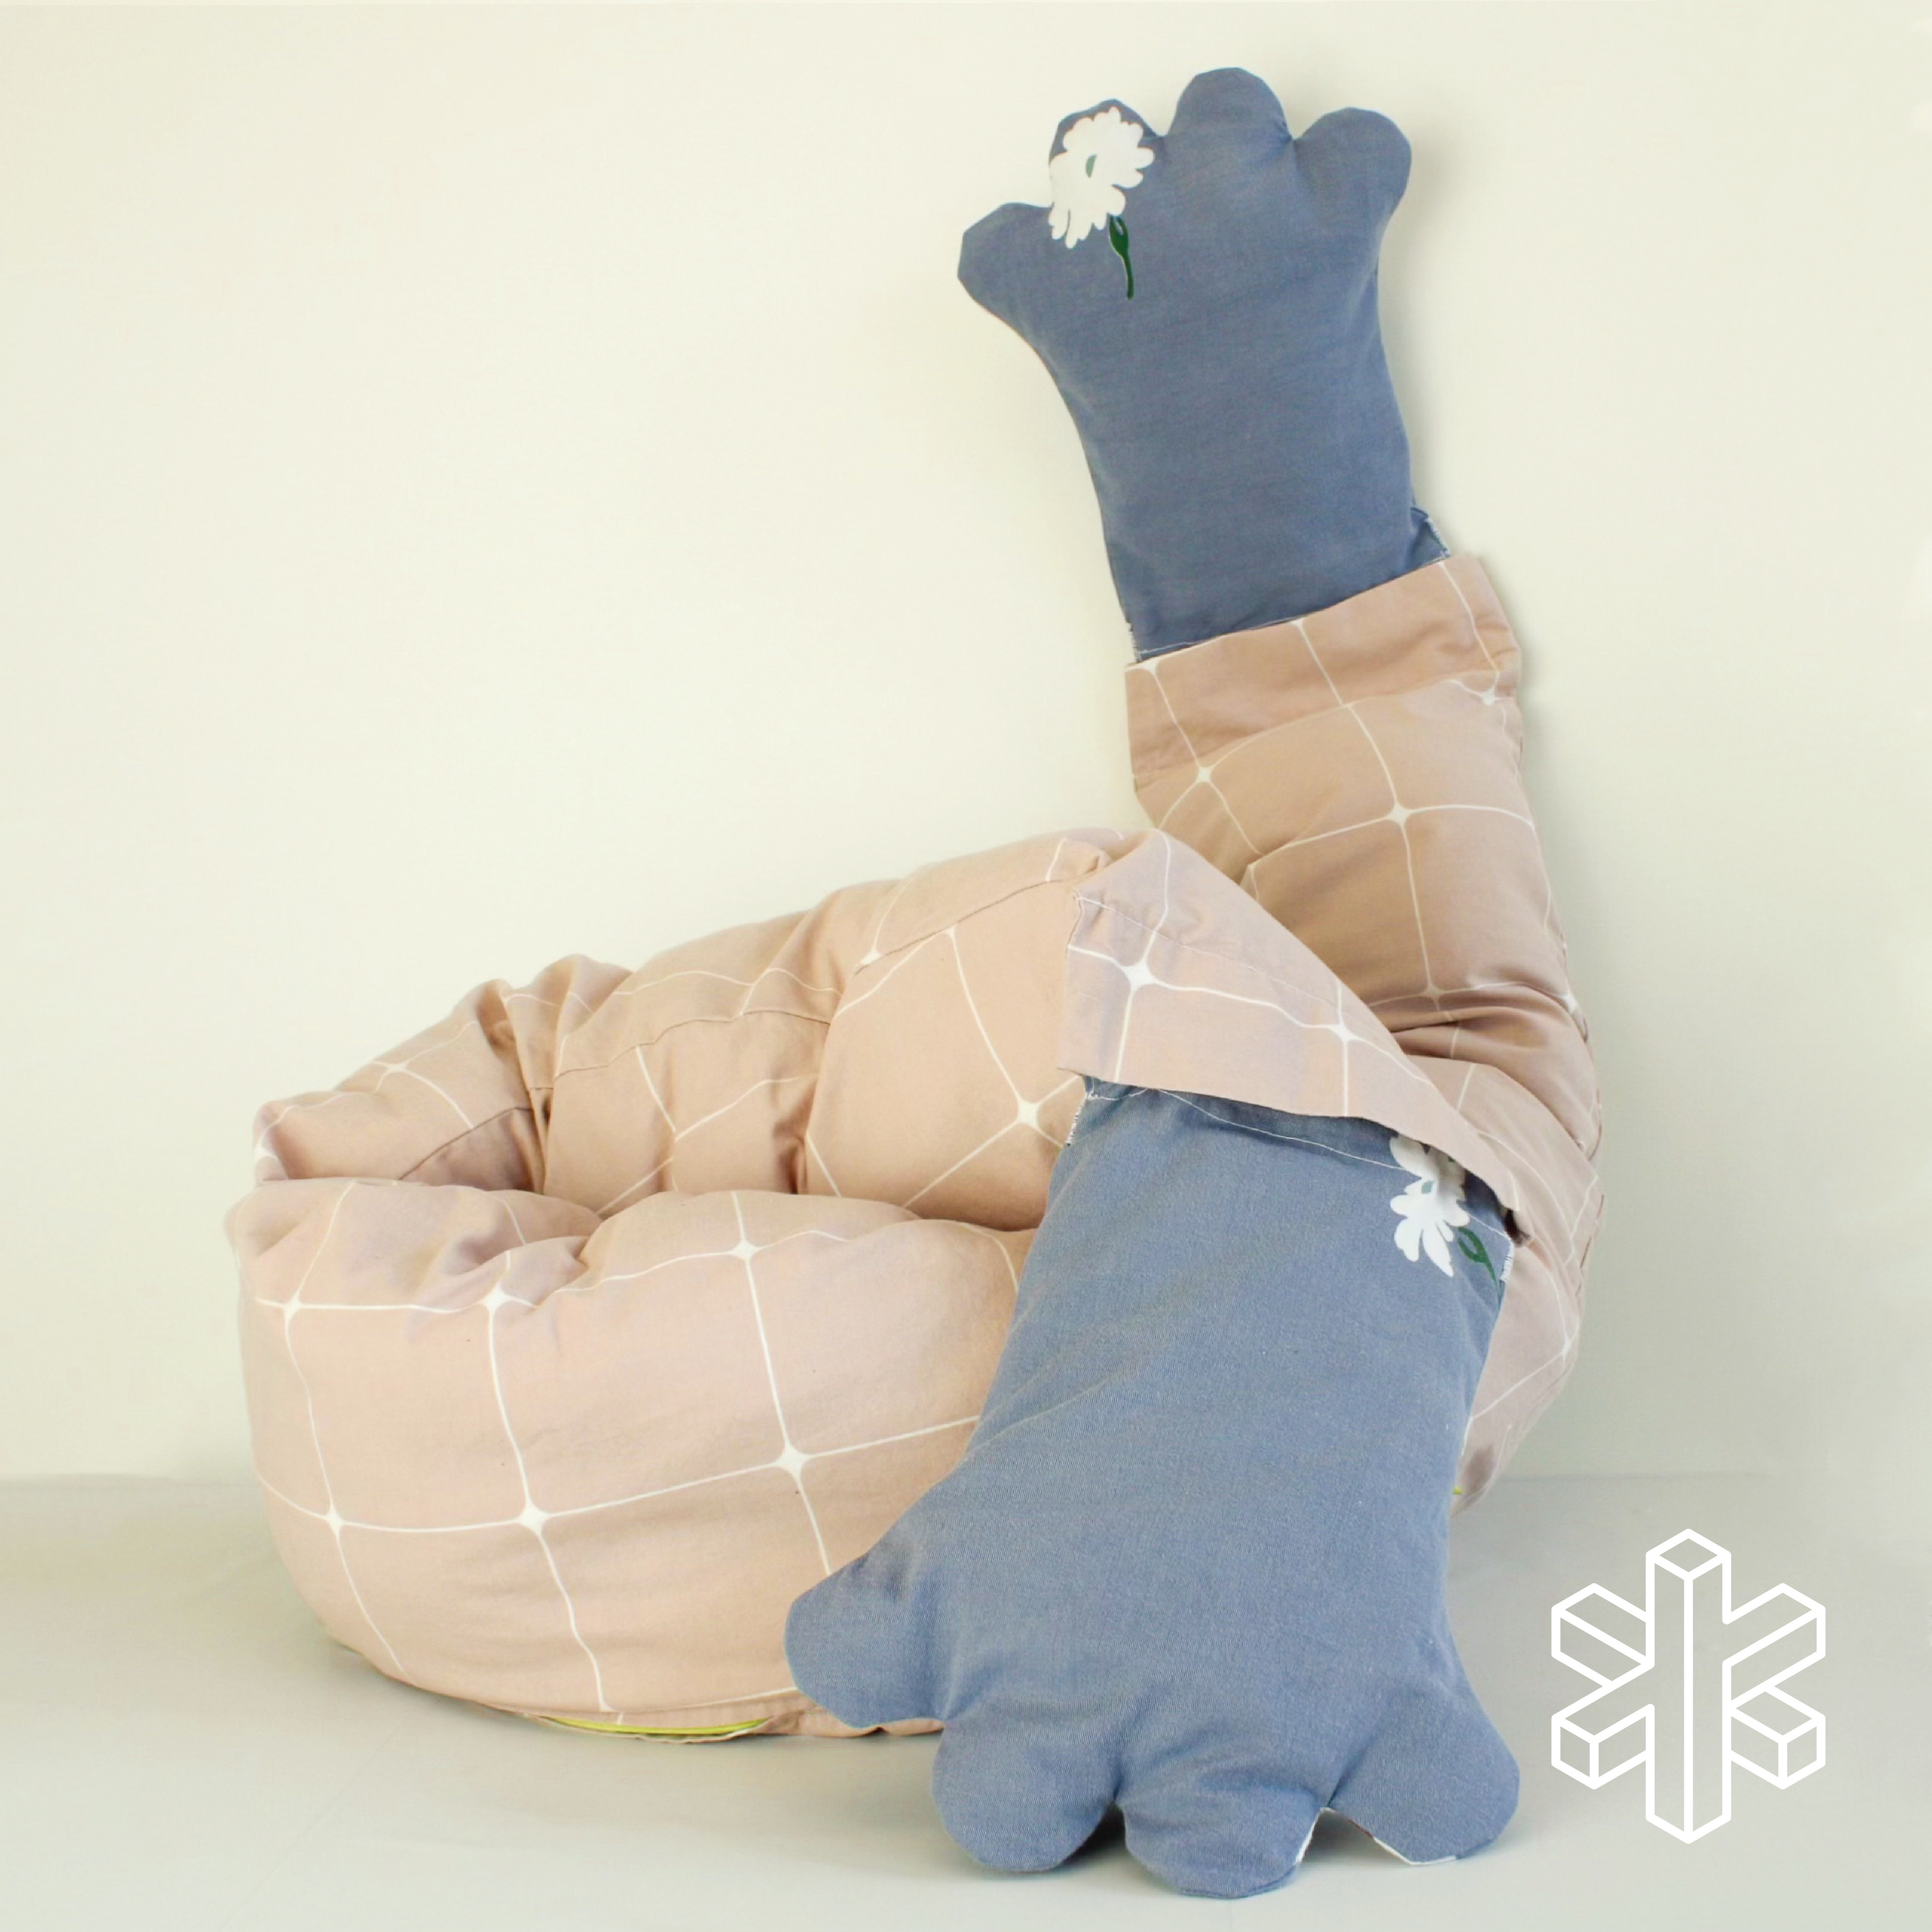
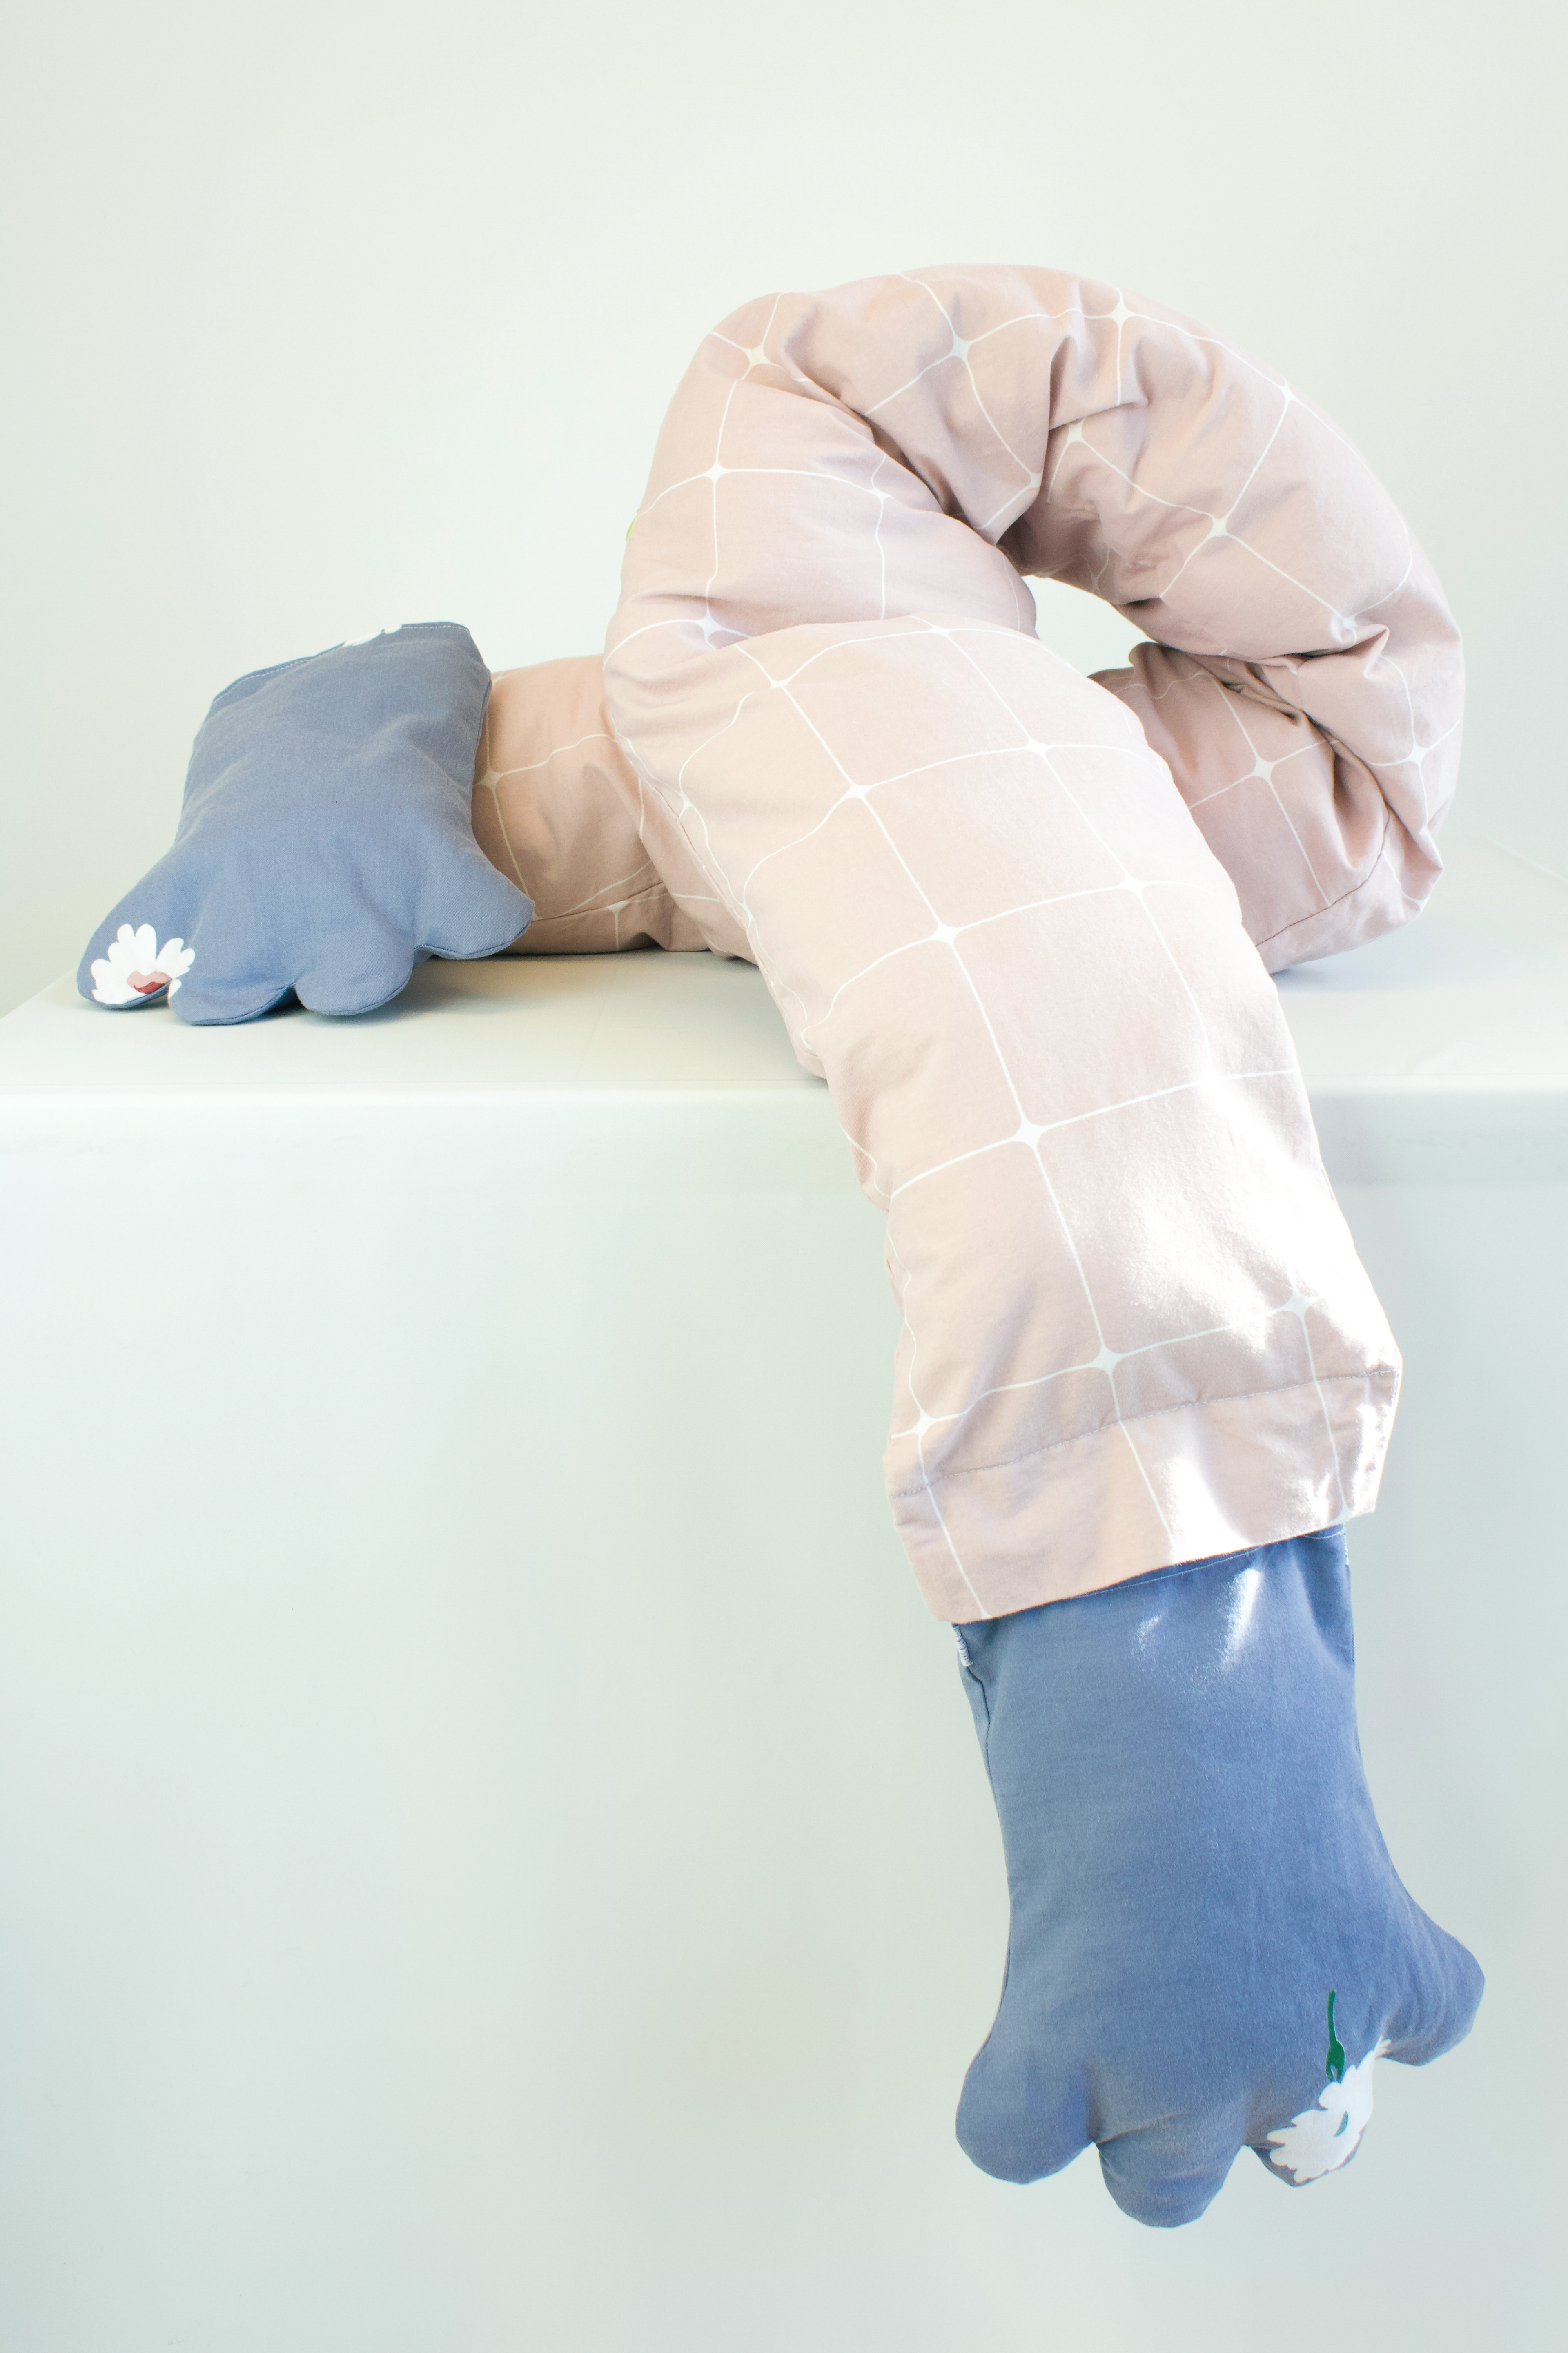
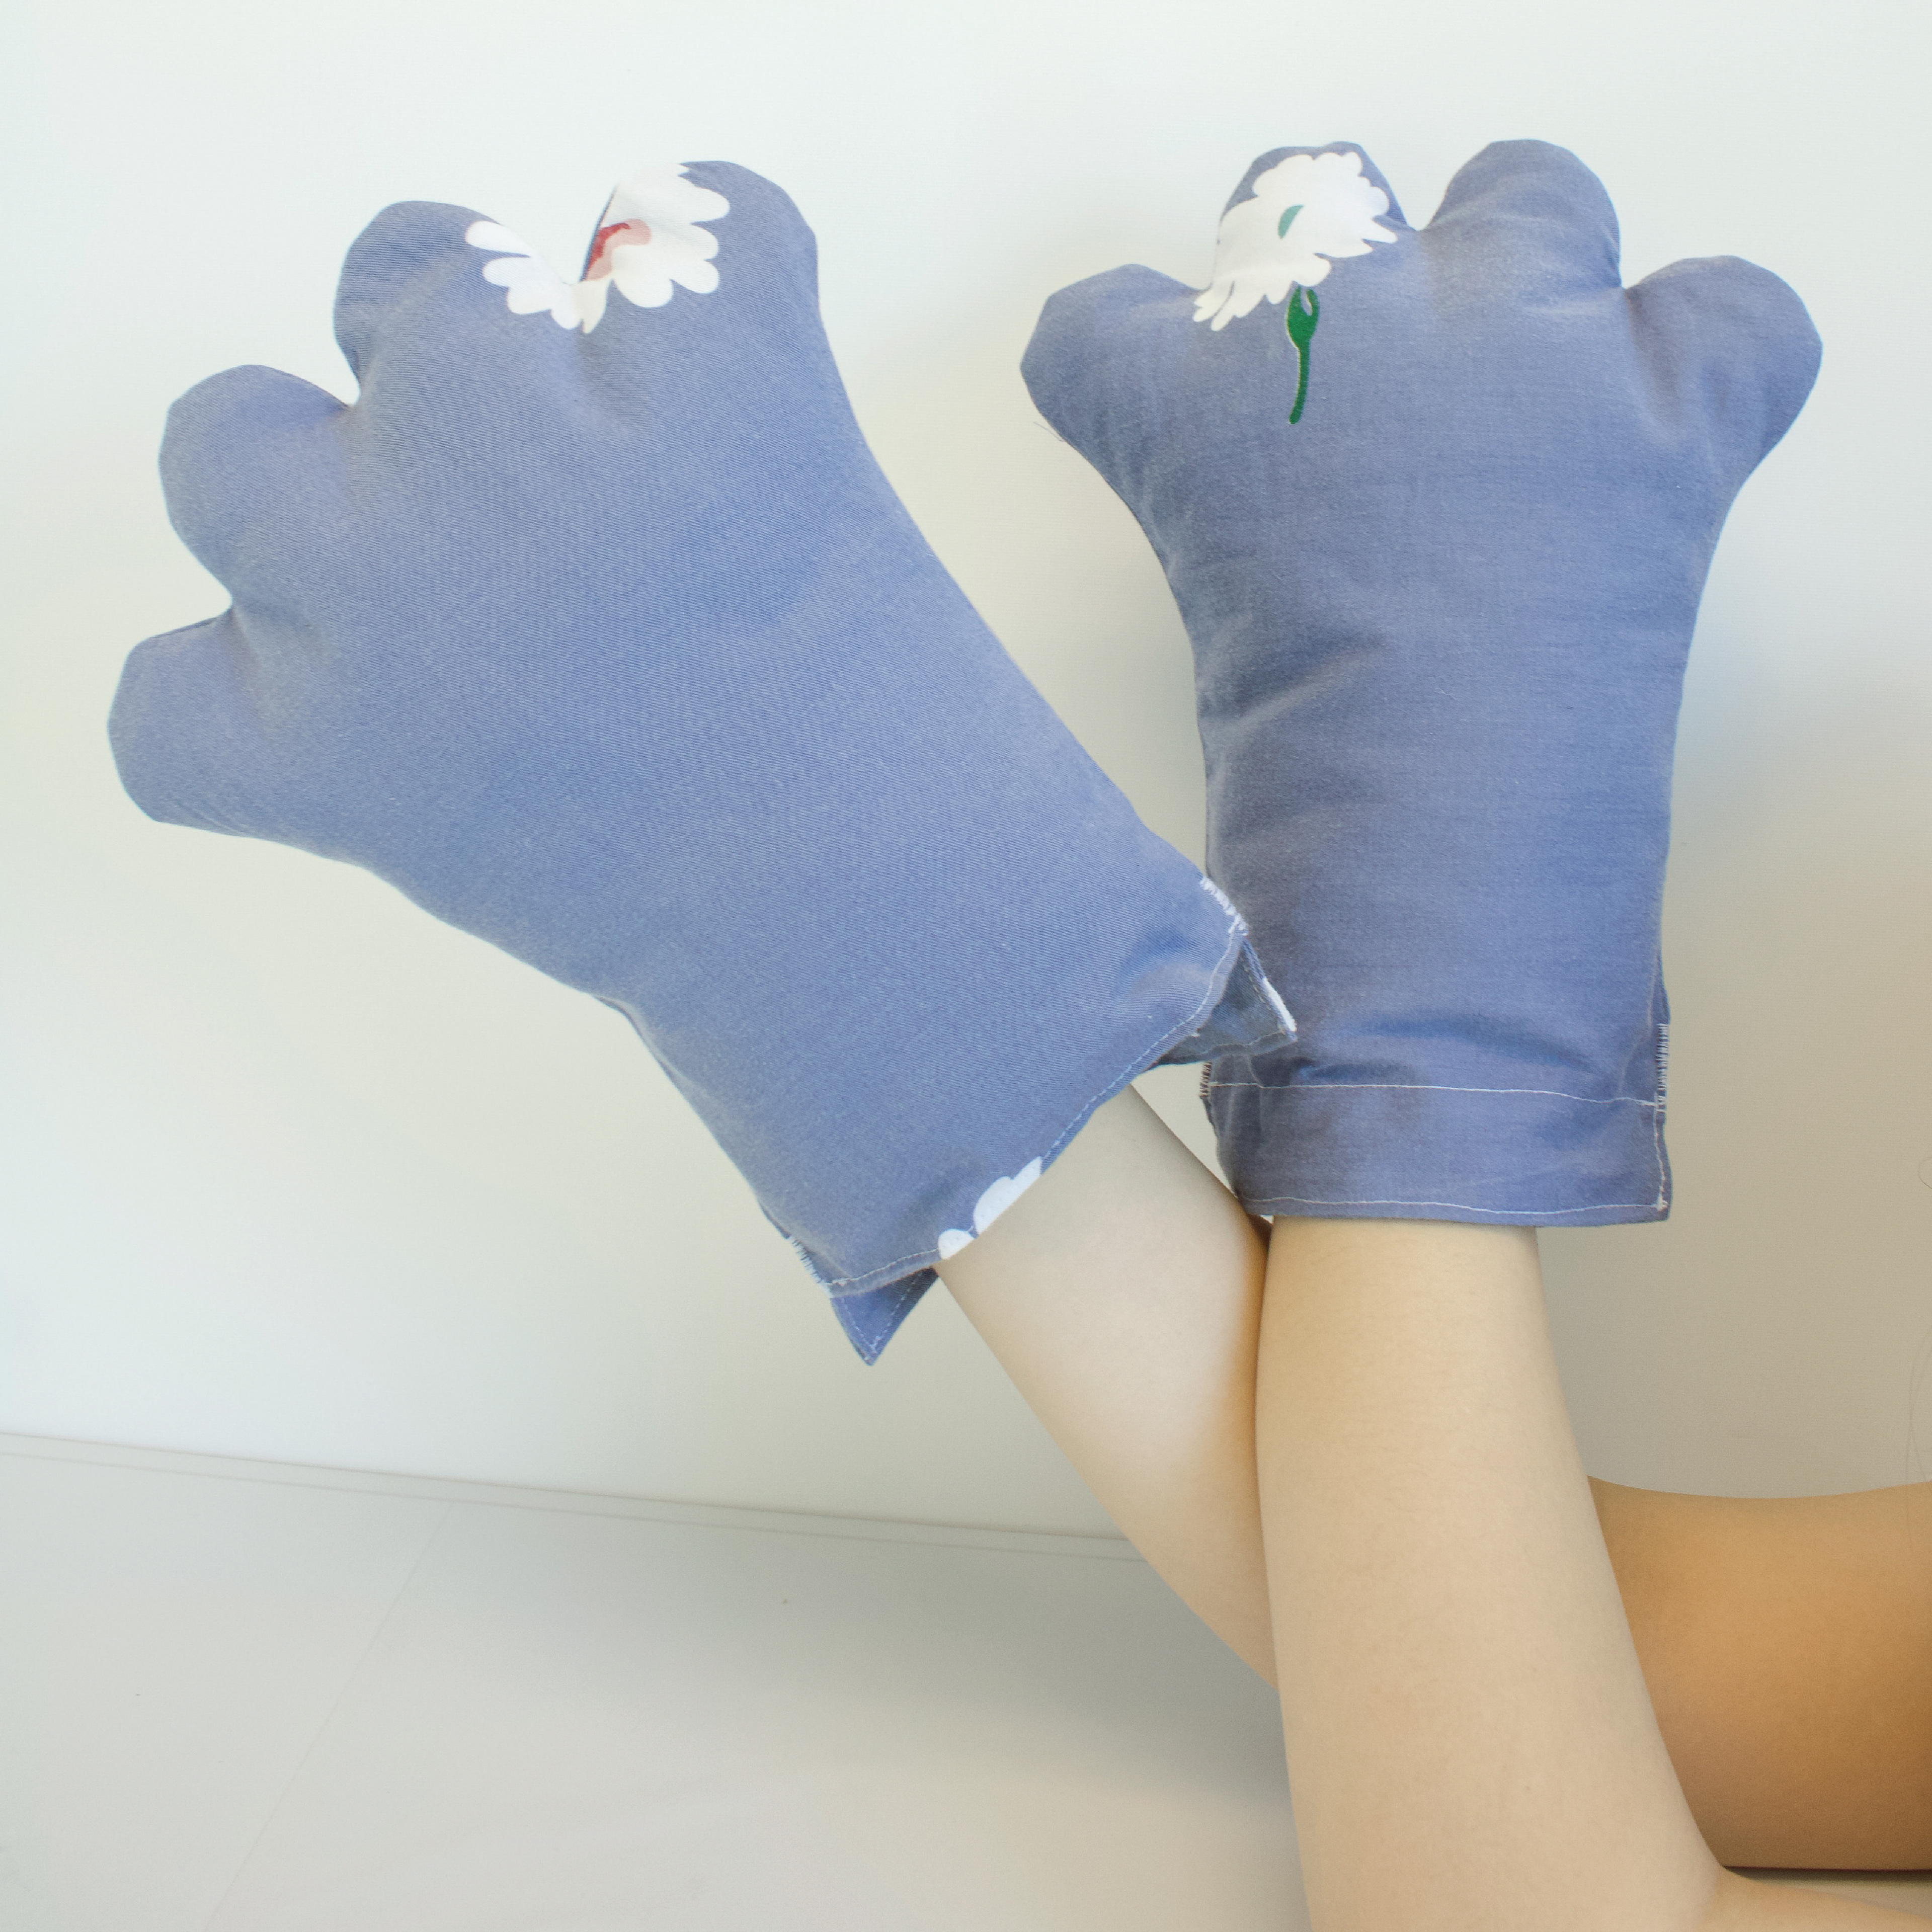
Introducing the Paw Pal Pillow Cover!
Snuggle up in style with the Paw Pal Pillow Cover – a cozy and functional addition to your relaxation routine. Made from upcycled bed sheets sourced from friends and classmates in the Department of Design, our product features a pillow case compartment and detachable paw-shaped mittens. Take sustainability into your own paws by contributing your own unused bedding to transform your Paw Pal Pillow Cover into a fully personalized pillow. With a range of patterns to choose from, customize your Paw Pal in countless ways to satisfy your comfort needs.
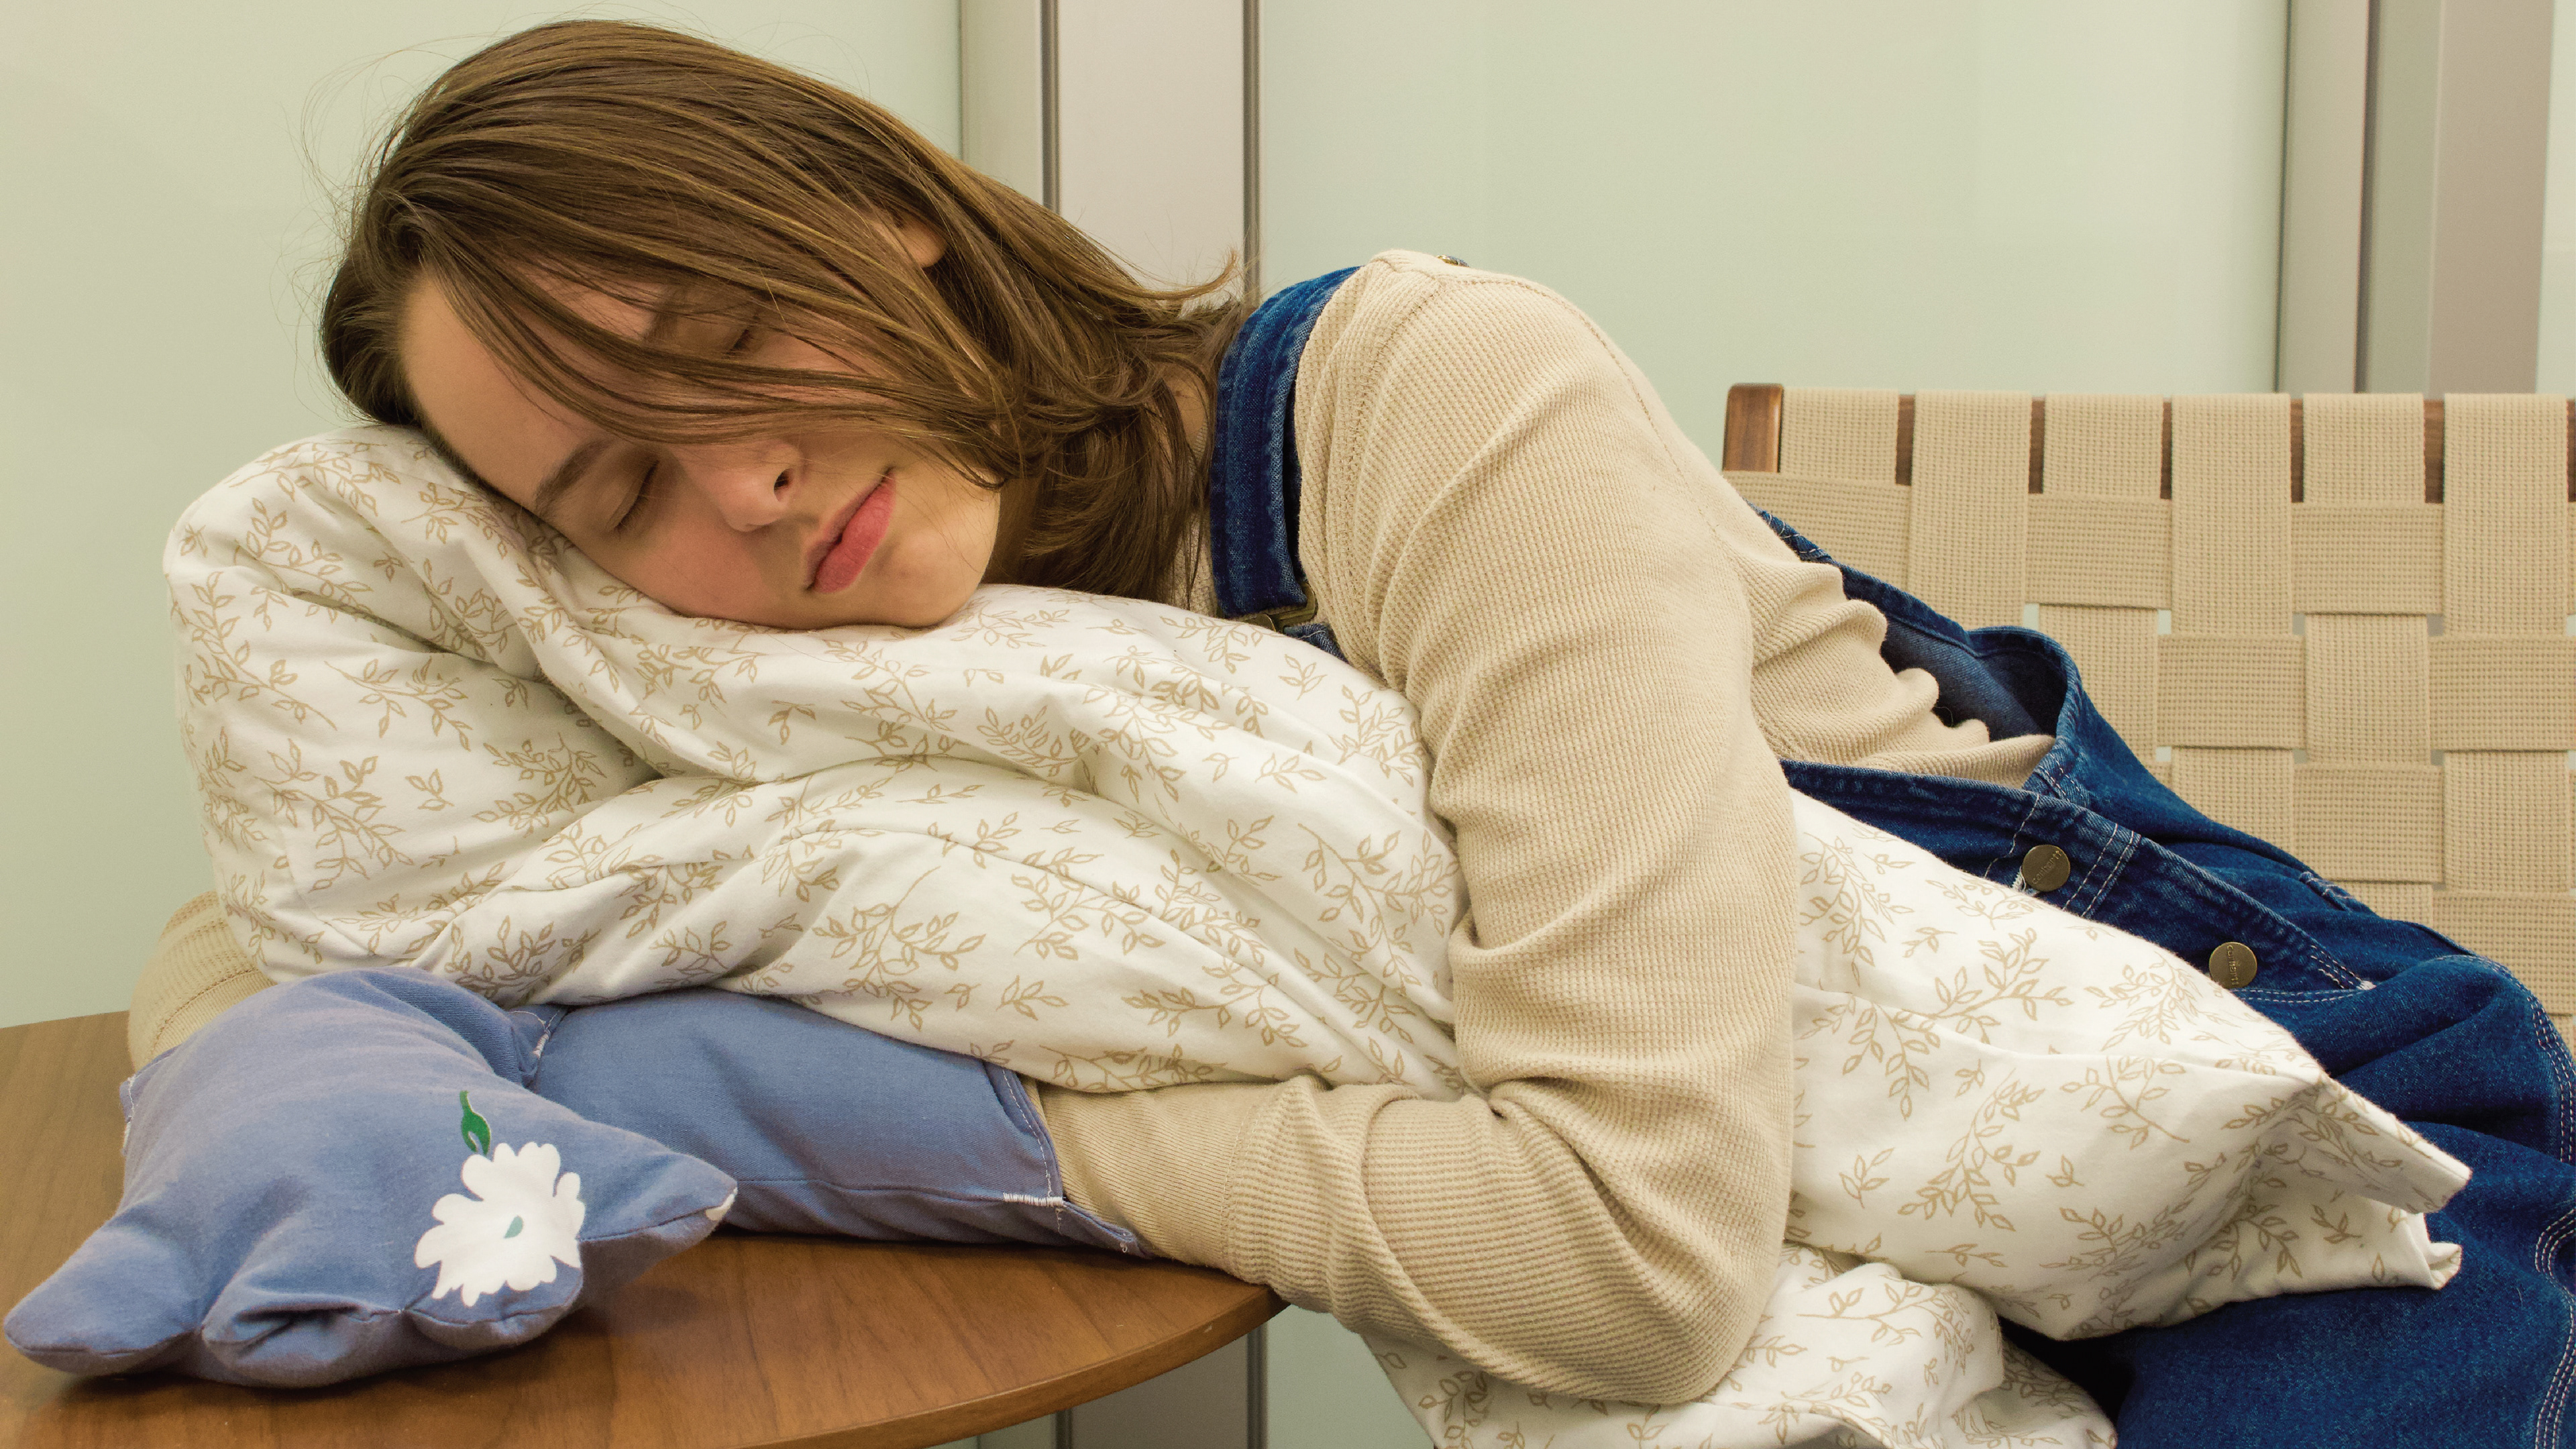
Product Photos


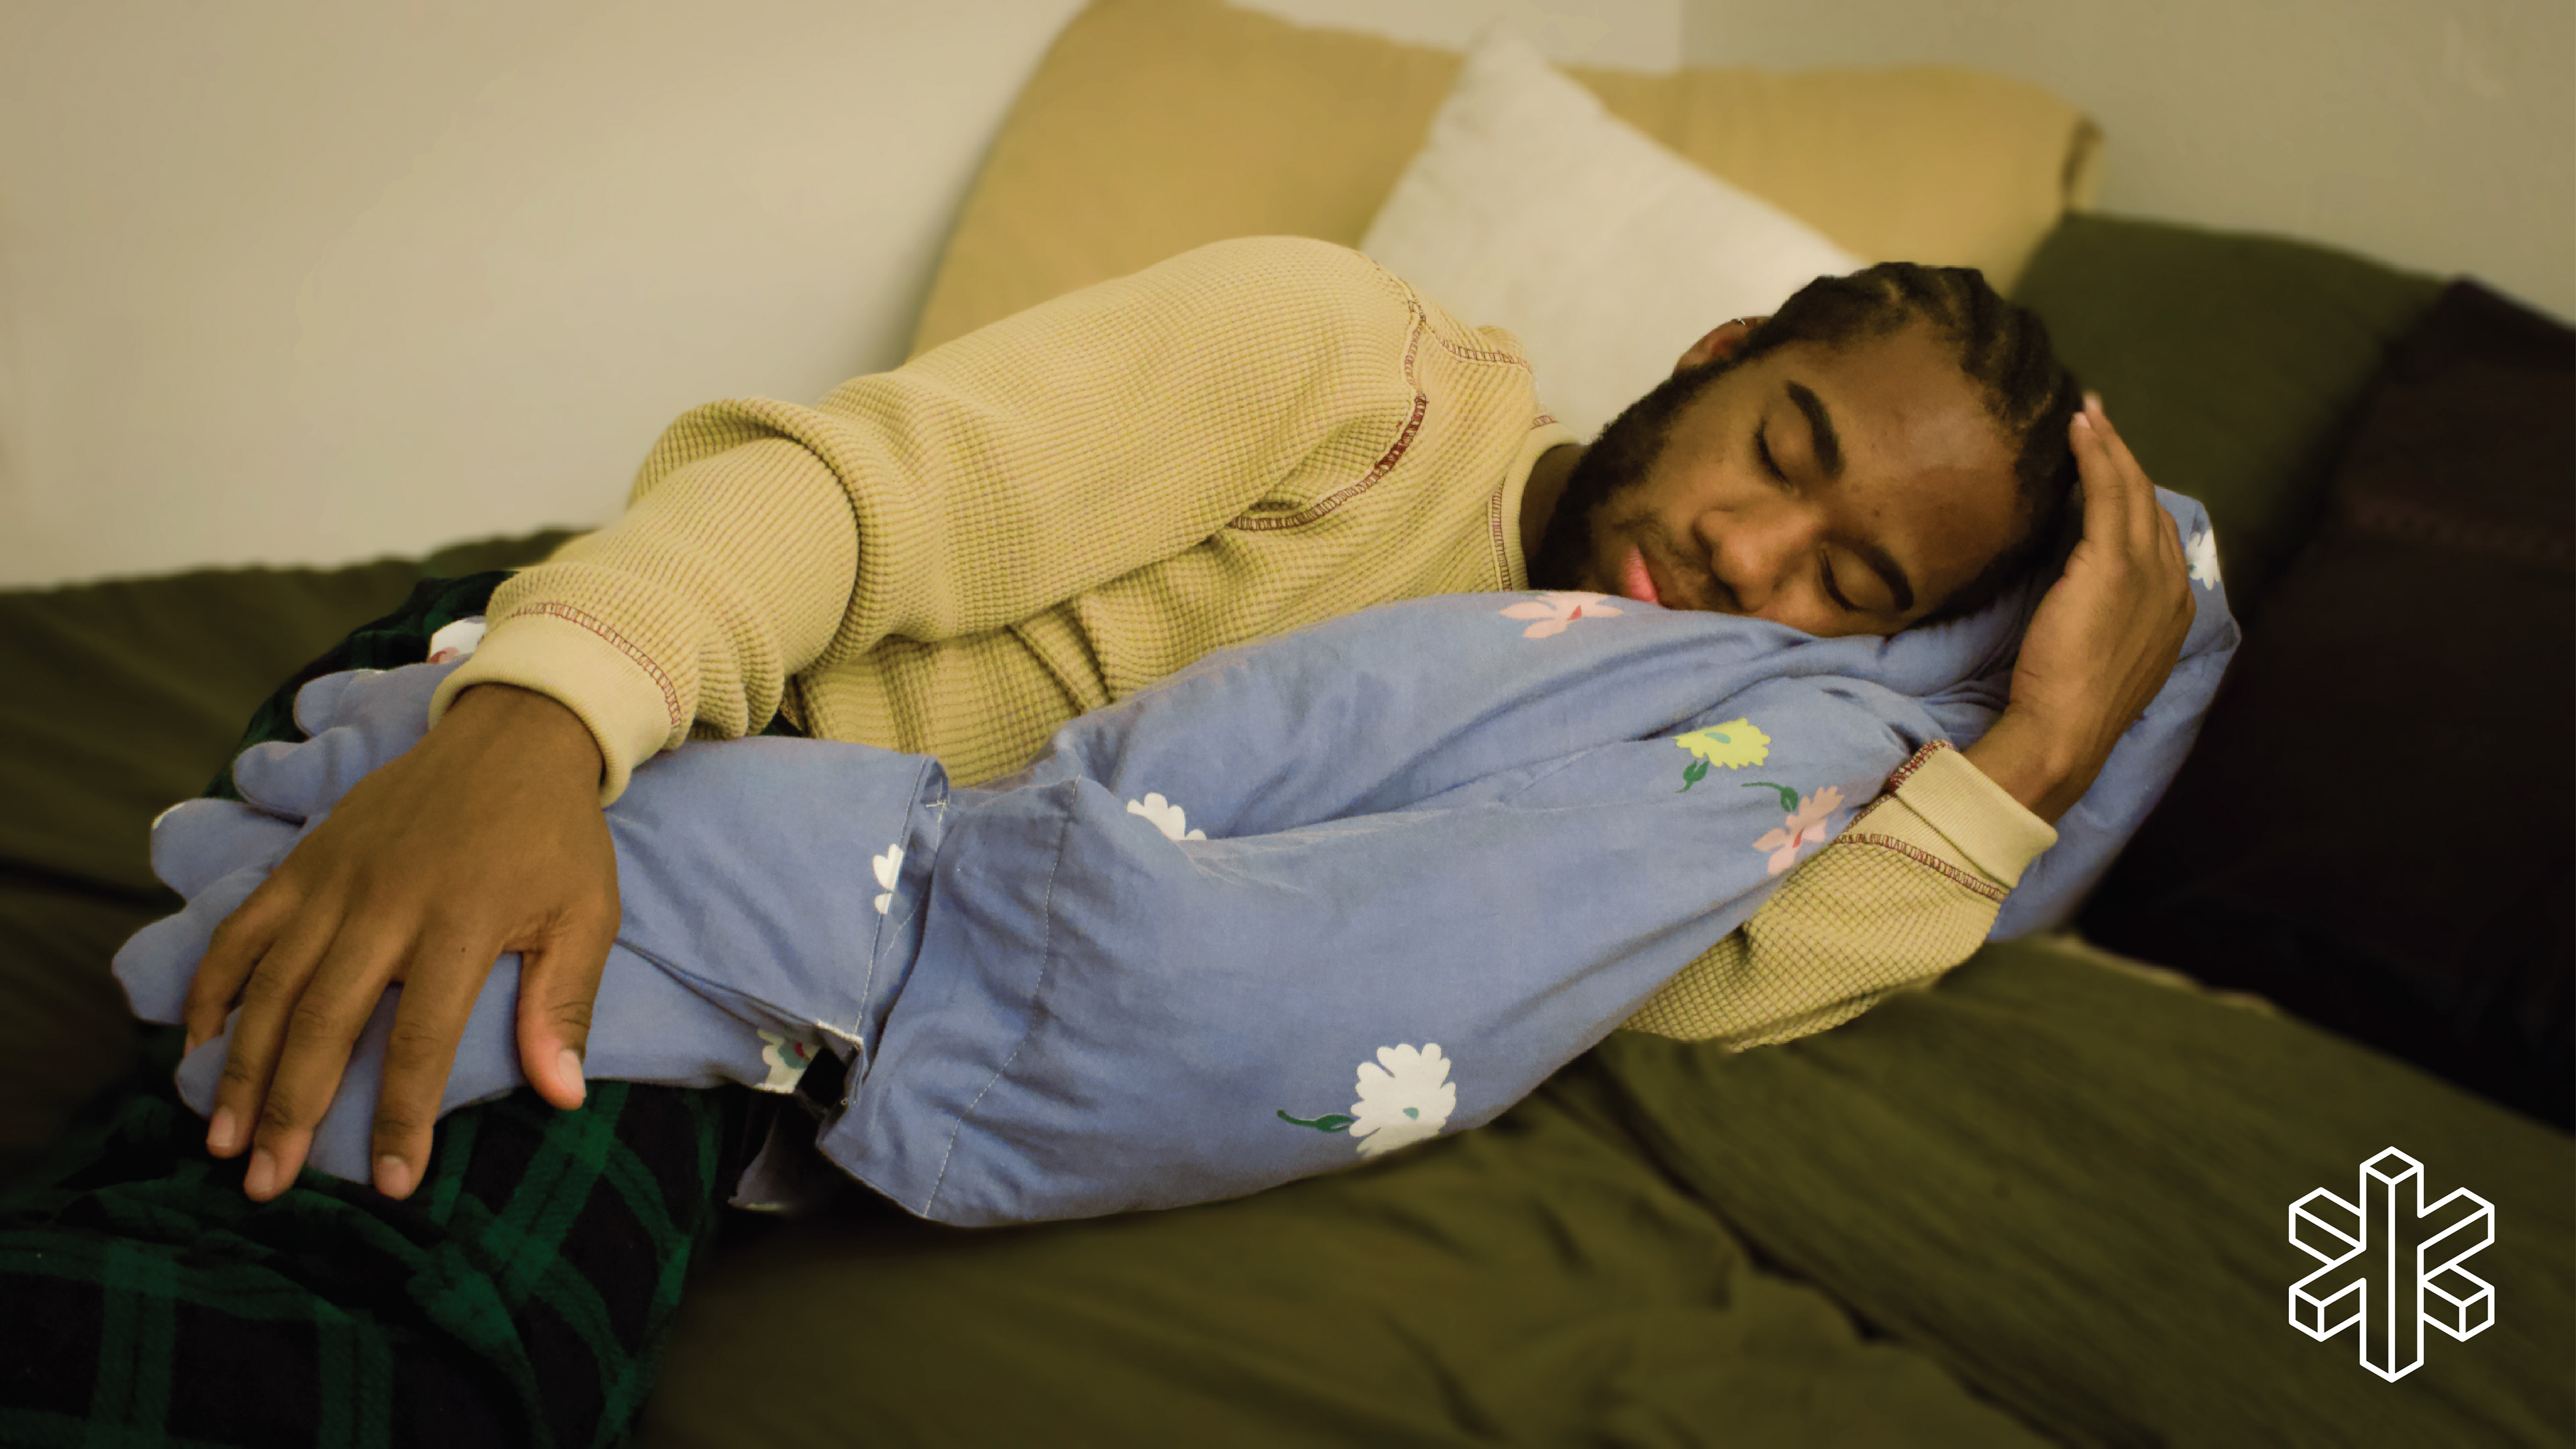
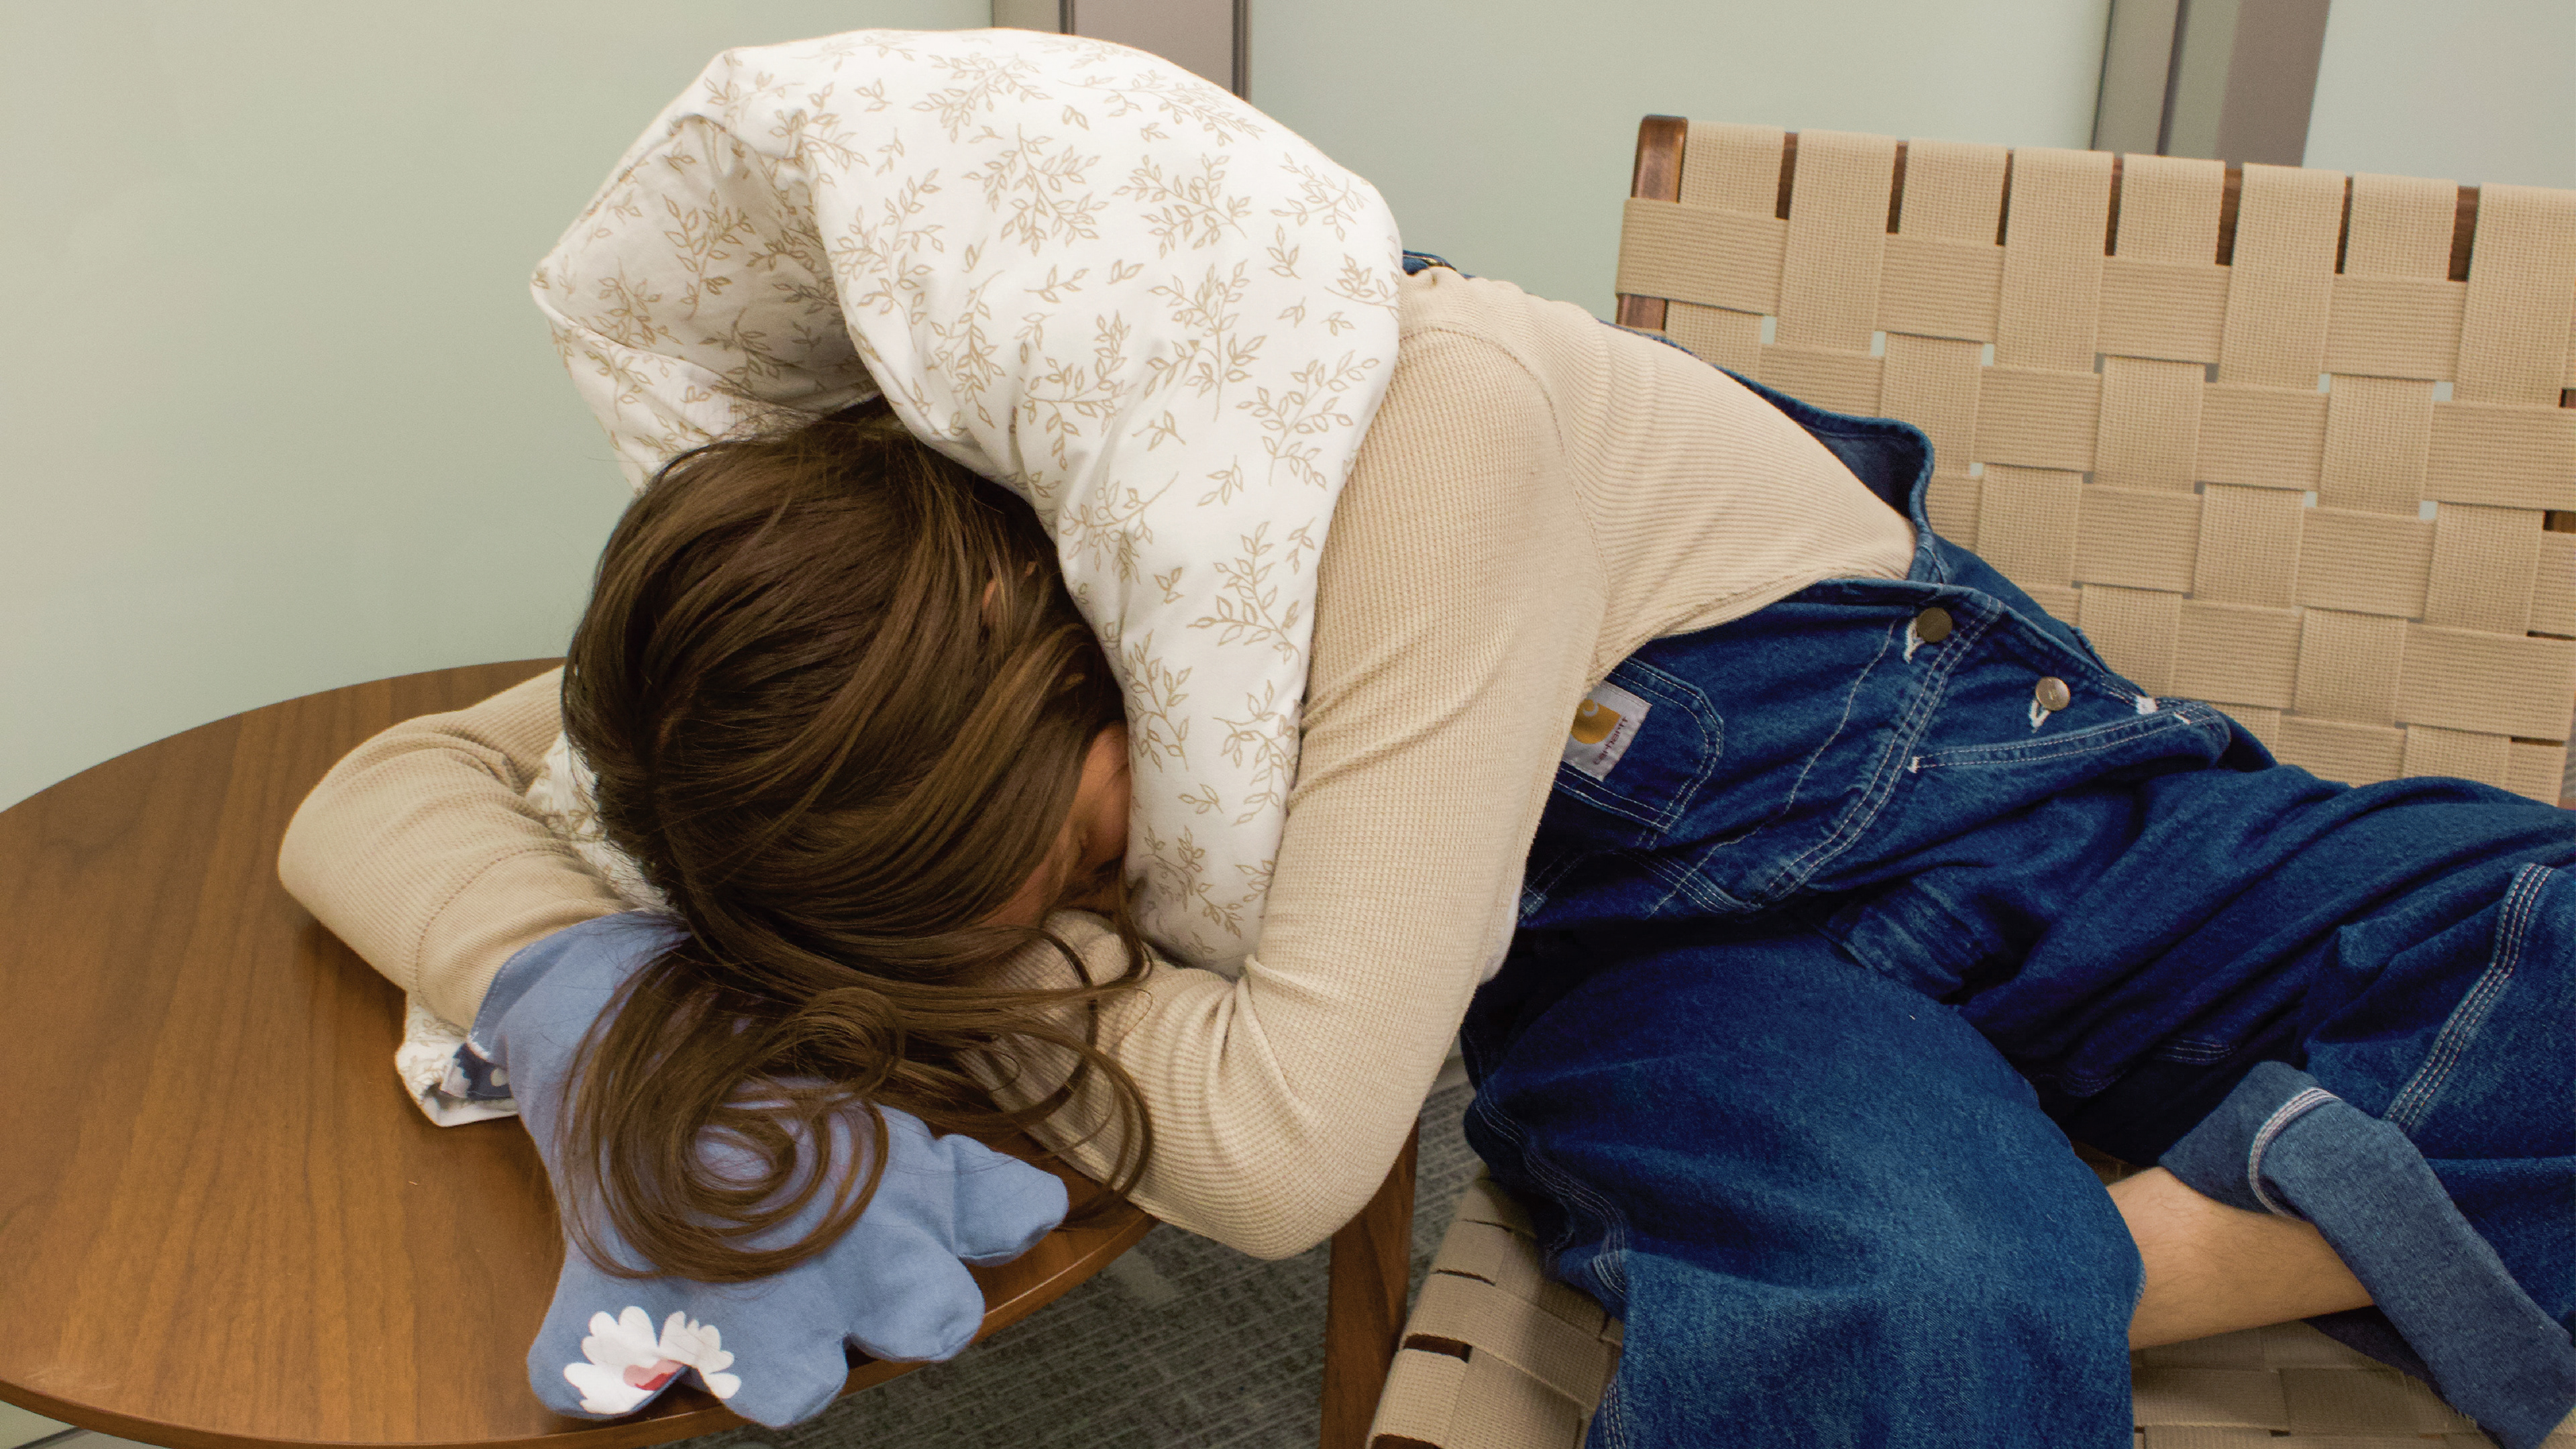

Winter Market Event Photos

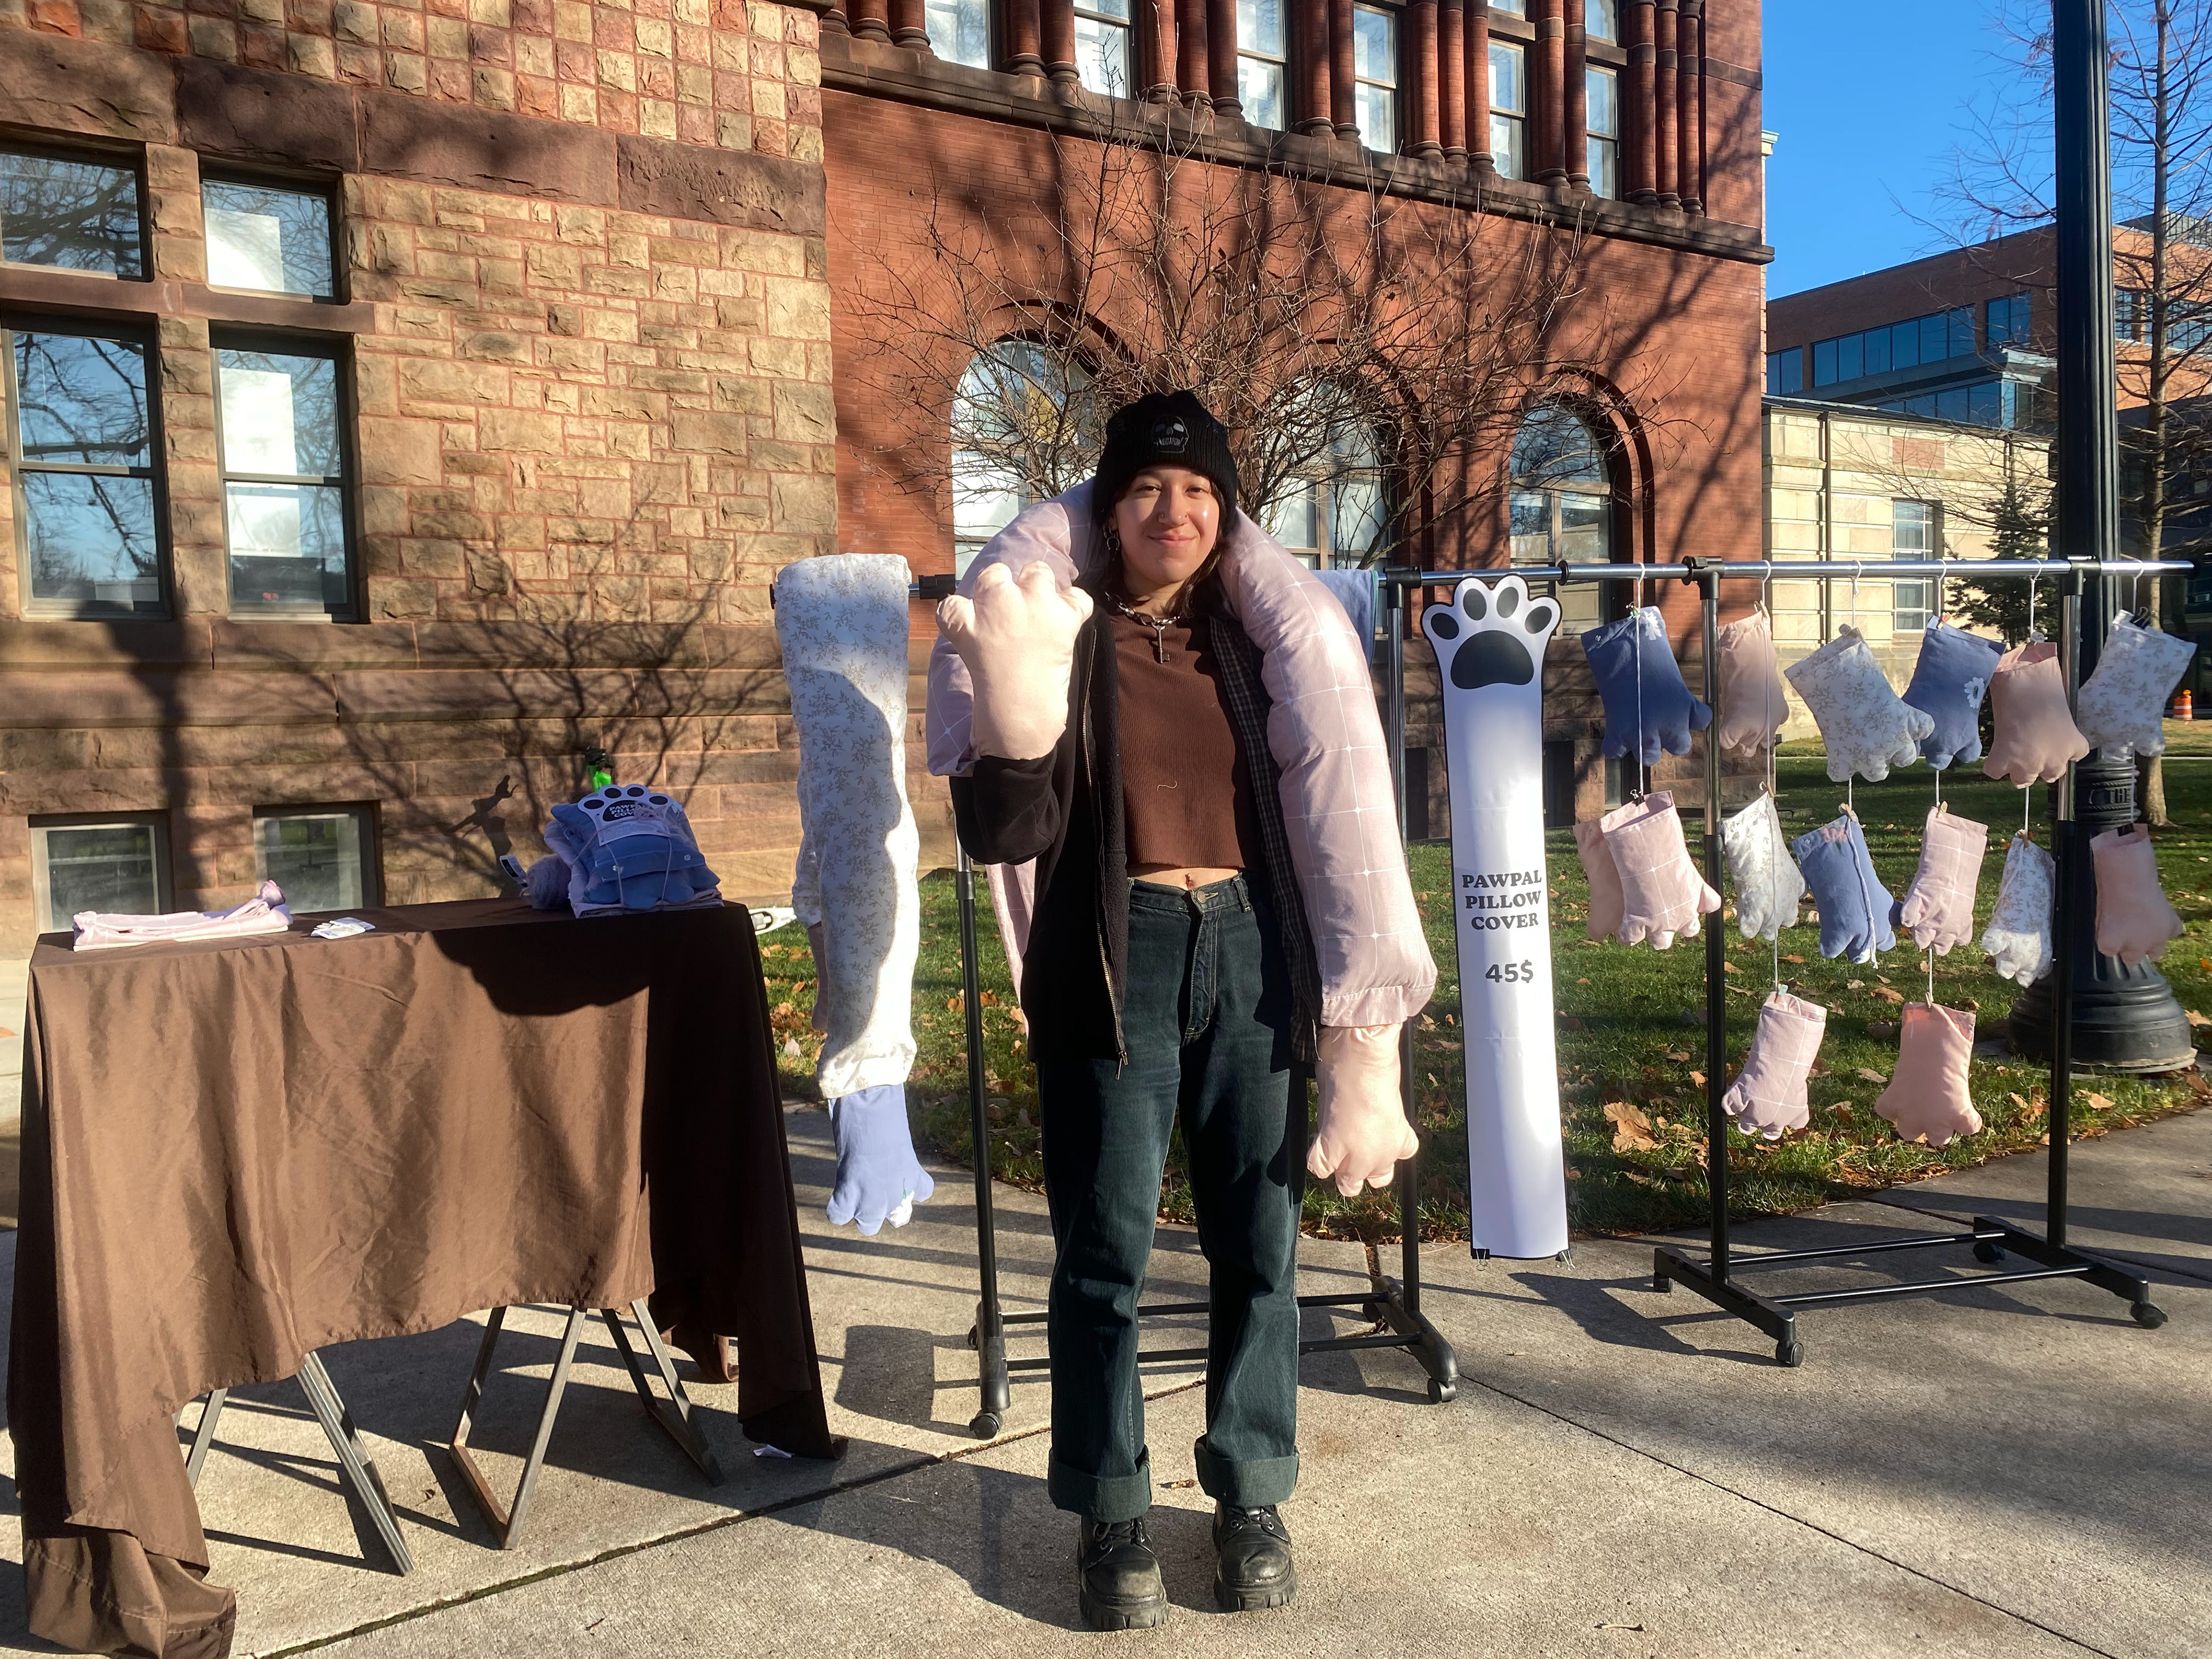
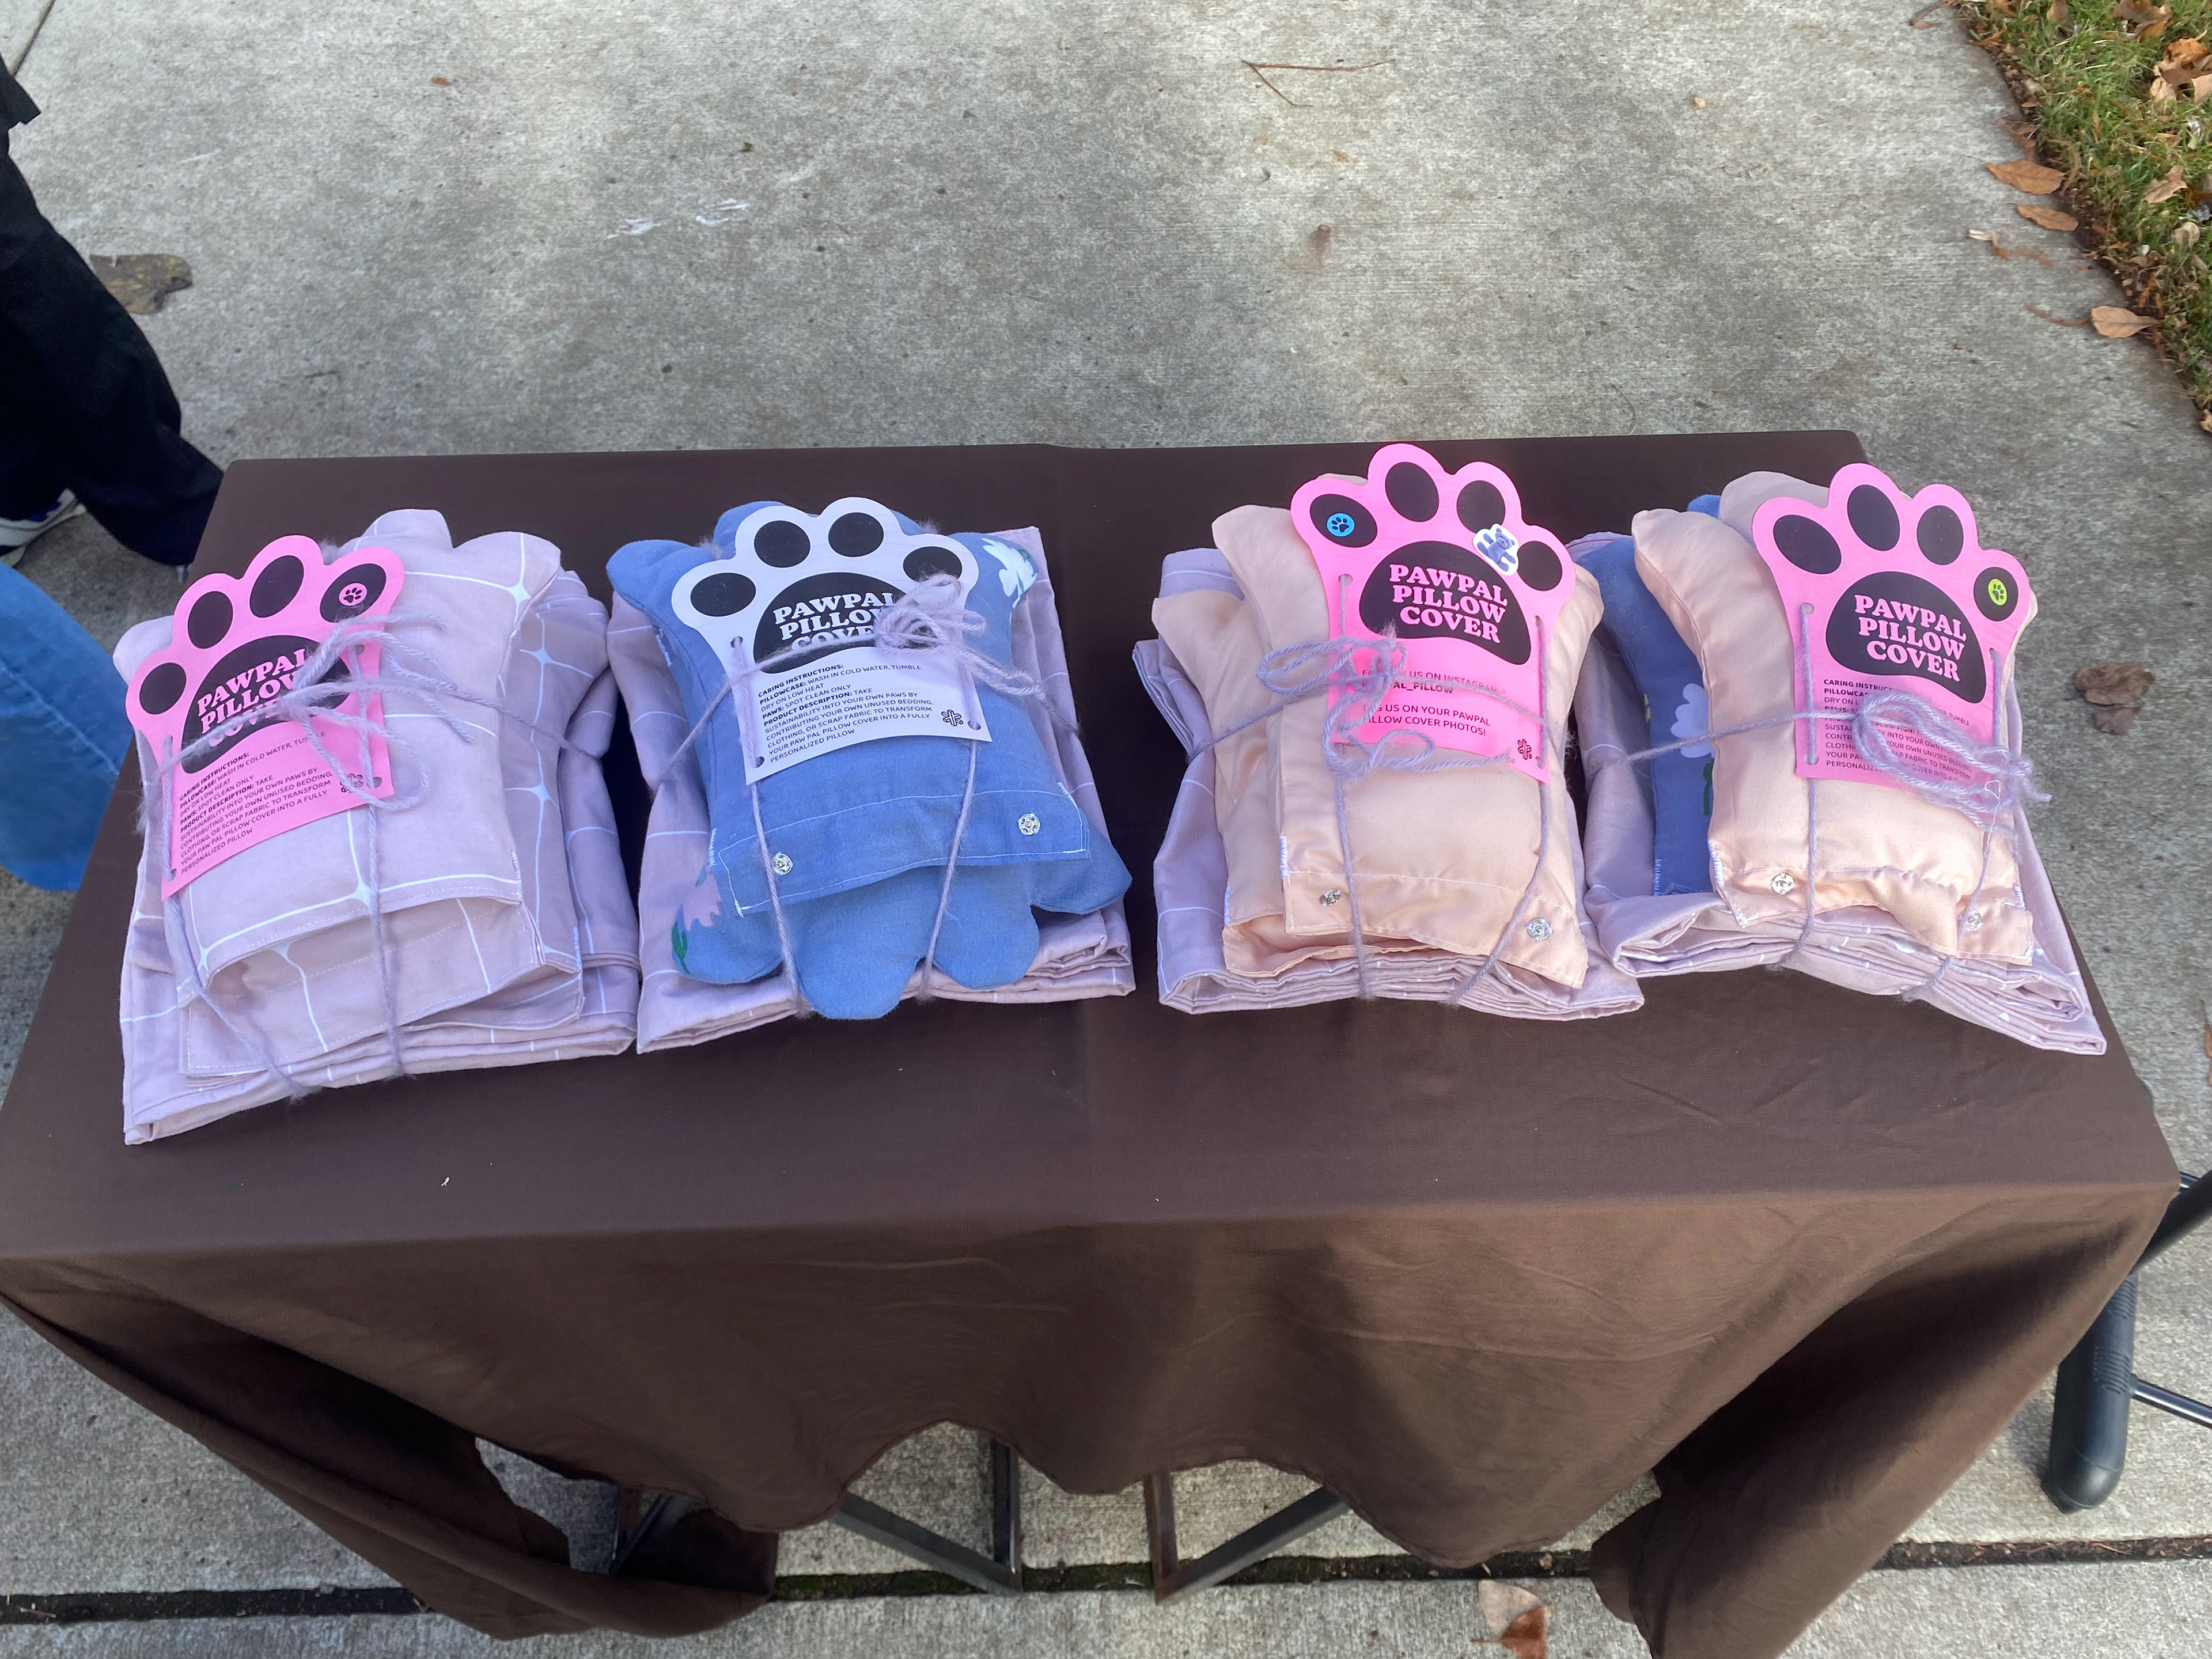
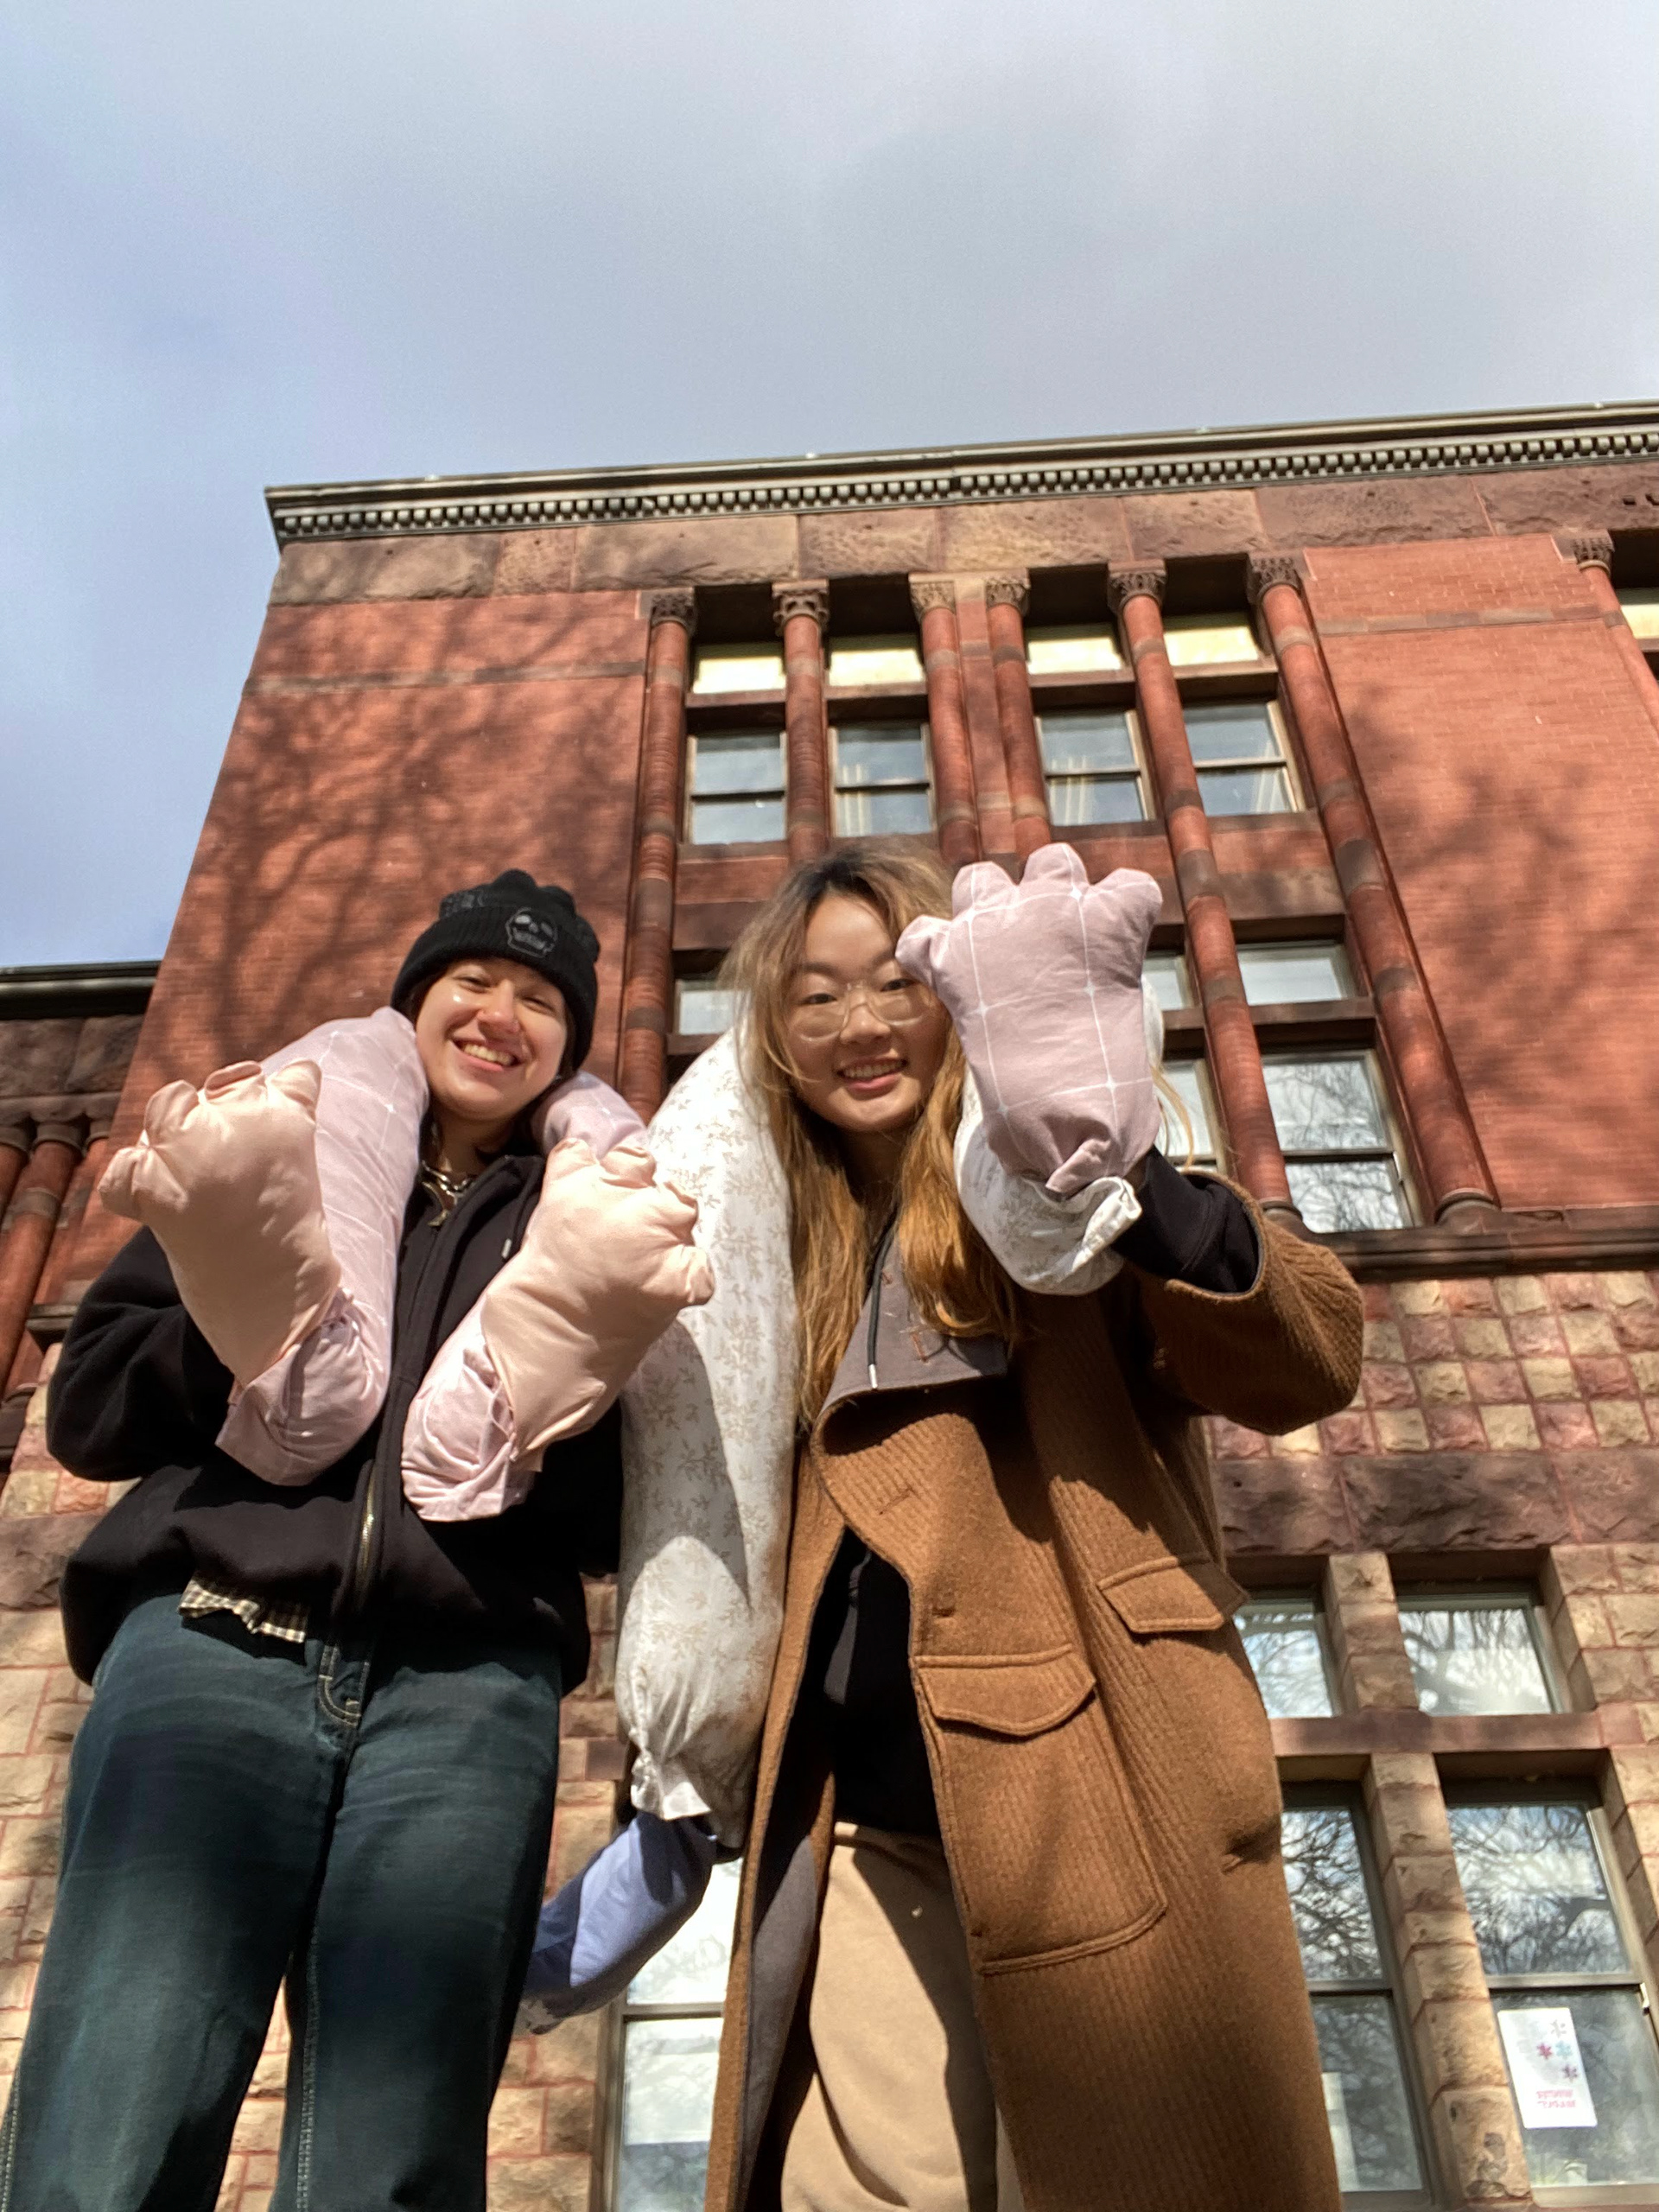

Above: Our display allowed customers to choose 1 pillow case and 2 paws. Customers could mix-and-match patterns to create their own unique Paw Pal Pillow Cover. We prepared two pillow covers for display; customers could try the Paw Pal on and experience the comfort first-hand. Packaging included a paper tag detailing care instructions.
Process
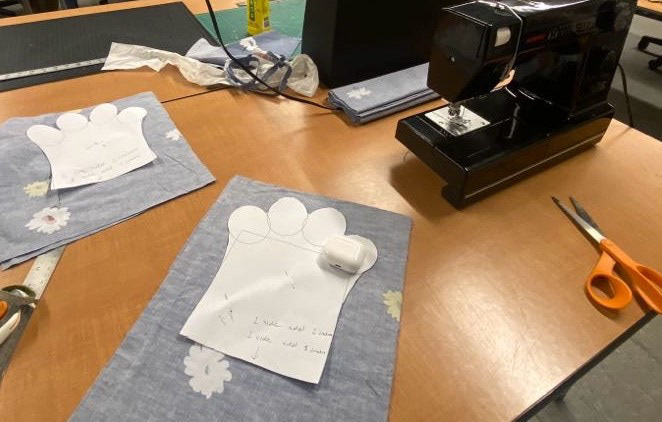
Tracing the pattern
Left: Outer Paw Right: Inner Paw
Sewing together the fingertips

Pinning the hems
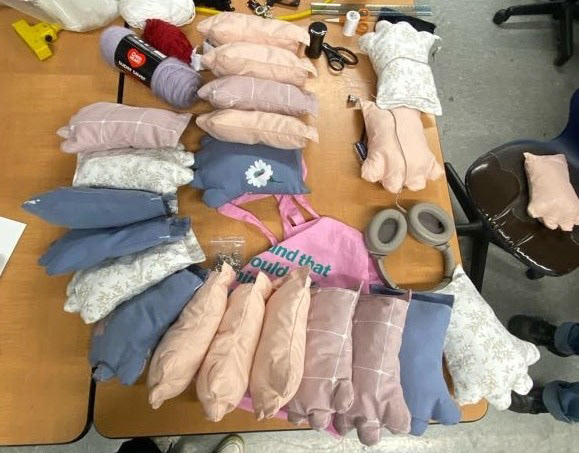
Mass Manufacturing!!

Cutting fabric for the Arm components
Steps to make Paw components:
1. Cut four rectangles of fabric (11" x 12").
2. Pin two rectangles right-sides together ( x 2).
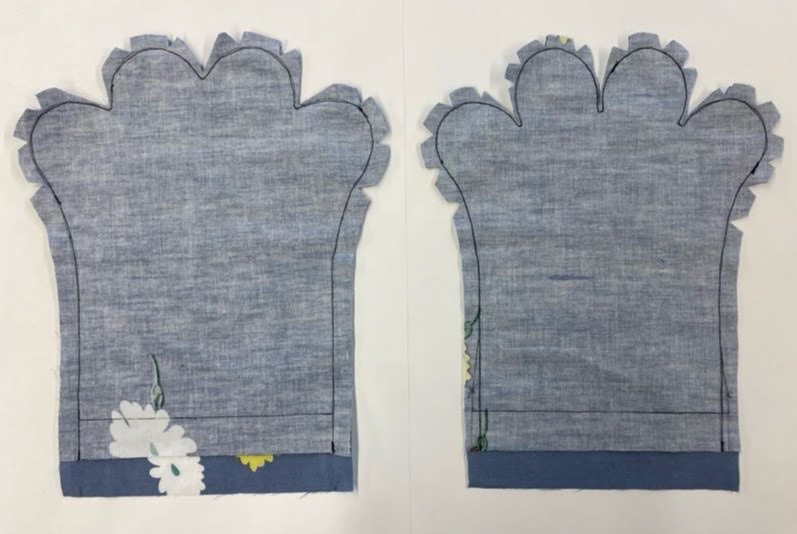
2. Trace the Outer paw template outline onto the fabric pieces. Add two inches of seam allowance along the bottom edge.
3. Trace the Inner paw template outline onto the fabric pieces. Add two inches of seam allowance along the bottom edge.
4. Sew along the outline.
5. Cut around the edges leaving 1/4 inch seam allowance. Cut notches around the curves of the paws.
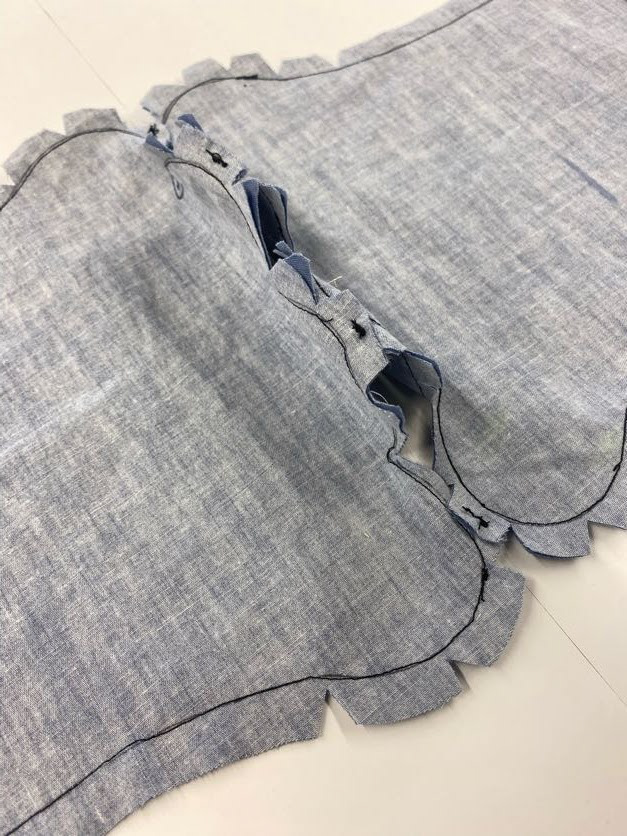
6. Sew the fingertips of the inner and outer paw together along the seam allowance (zig-zag stitch).
7. Flip the Outer Paw inside out over the Inside paw. Add a bit of Poly-fil to the fingertips.
8. Hem the shorter edge of the paw.
9. Stuff the remainder of the paw.
10. Hem the longer edge. Sew a rectangle along the perimeter of the longer edge. There should be no Poly-fil in the rectangle.
11. Hand sew 2 snap-buttons onto the rectangle area, spaced 4 inches apart and centered length-wise within the rectangle.
12. Whip-stitch where the shorter side meets the longer side for extra re-enforcement.
Steps to make Arm components:
1. Start by ironing the fabric to remove any wrinkles.
2. Cut 2 rectangles (12" x 72").
3. Taper the ends of the rectangle: mark the width of the rectangle at 6 inches, mark the length of the rectangle at 18 inches on either side, draw a line connecting the two marks, cut along the line.
4. Surge or zig-zag stitch the edges to prevent fraying.
5. Straight stitch along the straight side of the rectangle leaving a 1/2-inch seam allowance.
6. Open the seam and iron it flat.
7. Mark the center of the zipper, mark the center of the seam, align and pin the zipper face-down onto the seam.
8. Sew the zipper in. Reverse stitch along the ends of the zipper for extra re-enforcement.
9. Carefully use a seam ripper to open the seam from step 5 along the length of the zipper.
10. Straight stitch other side leaving a 1/2 inch seam allowance.
11. Sew the ends of the sleeves closed leaving a 2 inch seam allowance. This will create a 'cuff'.
12. Hand sew two snap buttons spaced 4 inches apart and 1/2 inch inside the cuff.
